The short answer. Mail will shrink a video for you when you attach it, but it decides the quality and you cannot check the result. iMovie gives you four resolution presets and no size target. A compressor app is the only route where you pick the size, see the result, and keep the original if you do not like it. Everything below runs on the phone — no upload, no account.
Why the file is that big in the first place. One minute of 4K at 60 fps on an iPhone is about 400 MB. At 1080p/30 it is about 65 MB. The camera is not doing anything wrong; 4K/60 is simply six times the data of 1080p/30 for the same second of footage.
The four ways, and what each one costs you
| Method | Free | You control size | See result first | Keeps original |
|---|---|---|---|---|
| Mail attachment | Yes | Four presets only | No | Yes |
| iMovie export | Yes | Resolution only | No | Yes |
| Record smaller | Yes | Before the fact | N/A | N/A |
| Compressor app | Varies | Yes | Depends on the app | Depends on the app |
1. Let Mail do it — fastest, least control
Attach the video to a mail draft. Before sending, Mail offers Small, Medium, Large and Actual Size with the resulting file size next to each. Small lands around 320p, which is fine for a clip someone will watch once on a phone and poor for anything else.
This is the right choice when the only goal is getting under a 25 MB email limit today. It is the wrong choice when you want to keep the smaller file, because Mail compresses the copy it sends and leaves your library untouched.
2. Export from iMovie — free, resolution-only
Create a project, drop the clip in, then Share → Save Video and pick 360p, 540p, 720p or 1080p. iMovie has no bitrate control and no target size, so you are choosing resolution and accepting whatever bitrate it picks.
Worth knowing: iMovie re-encodes even when you export at the same resolution, so you lose a generation of quality for nothing if you pick the original size.
3. Record smaller from the start
Settings → Camera → Record Video. Dropping from 4K/60 to 1080p/30 cuts roughly 85% of the data before it exists. This is the only method with zero quality loss at playback, because you never had the extra pixels to throw away.
The catch is obvious: it applies to future recordings only, and you cannot get the detail back if you later want it.
4. A compressor app — the only one that measures the loss
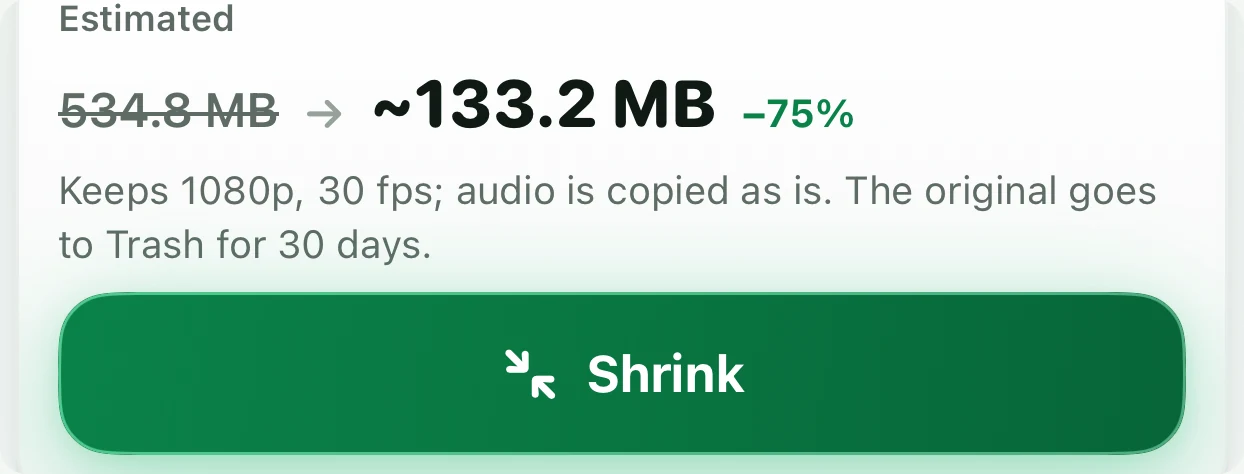
A dedicated compressor re-encodes to HEVC with a bitrate you choose. The part that matters is not the compression; every app can make a file smaller. The part that matters is whether the app tells you what you gave up.
Before
After
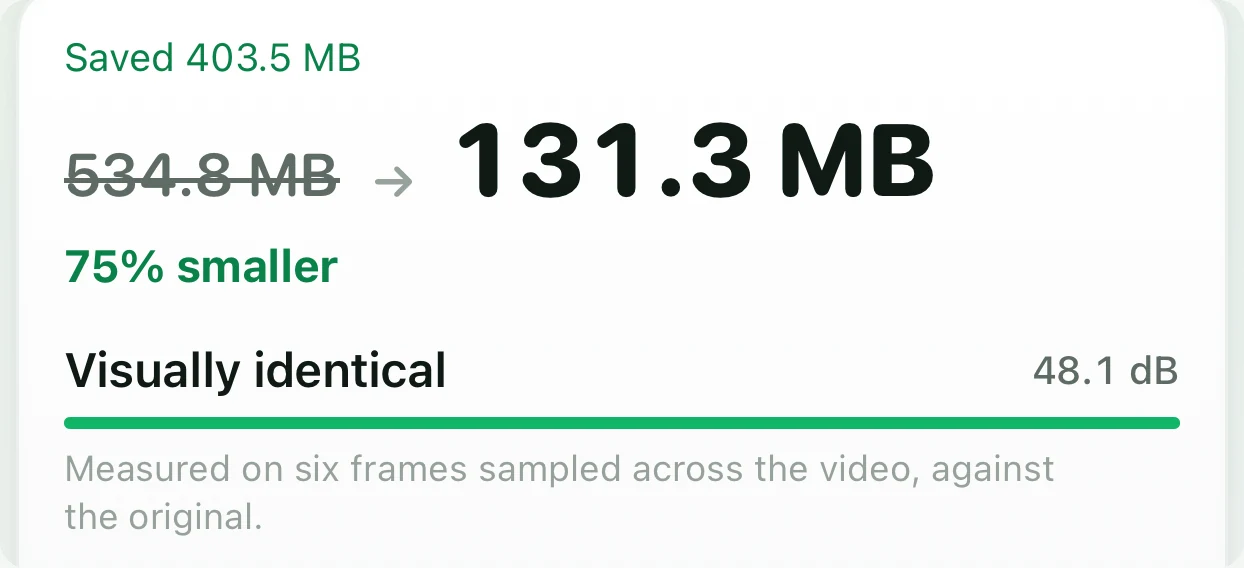
PSNR: the number that answers “can I see the difference?”
PSNR compares the compressed frames against the original frames and reports the difference in decibels. Higher is closer to the original. It is not a perfect model of human vision, but it is a real measurement and it is repeatable, which is more than “looks fine to me” offers.
| PSNR | What it means | What you would notice |
|---|---|---|
| ≥ 40 dB | Visually identical | Nothing, even zoomed in |
| 34–40 dB | Very good | Nothing at normal viewing; faint softening in flat gradients like sky if you hunt for it |
| 28–34 dB | Visible on a big screen | Blocking in shadows and fast motion |
| < 28 dB | Obvious | Smearing, banding, mushy detail |
Most compressor apps never show you this number, which means they cannot refuse a bad result — they just hand it to you. Hushfold refuses. If a compressed copy is not at least 15% smaller and at or above 34 dB, the app declines to keep it and tells you which test it failed.
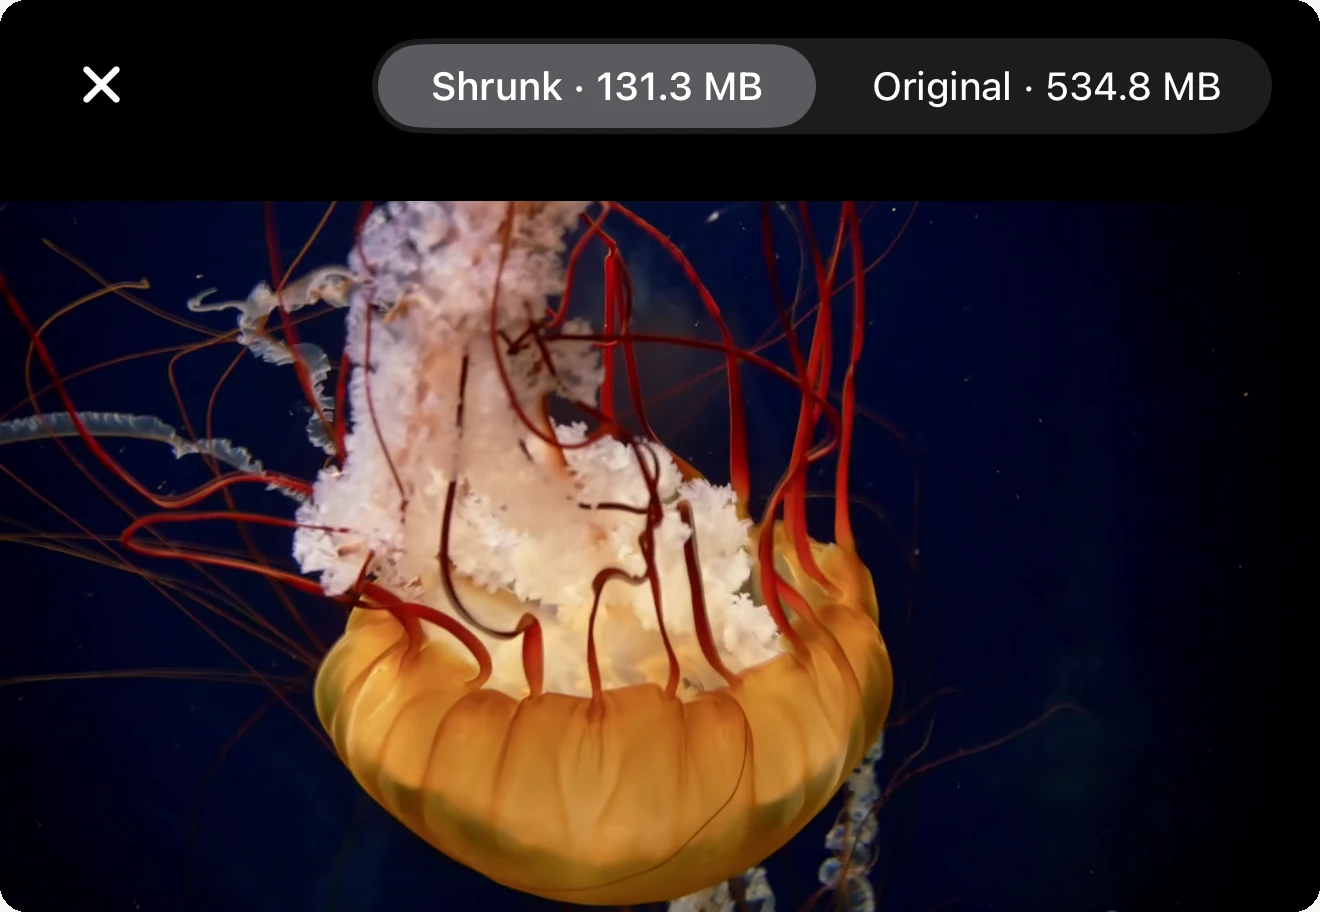
A real result. A 512 MB clip comes back at 118 MB — 77% smaller — at 37 dB. That is inside the “very good” band, and the app puts both versions on screen at the same frame so you can check the claim rather than take it.
Compressing photos is a different problem
Photo compression changes resolution, not just bitrate, so PSNR stops being a useful number — it reads low even when the result looks perfect. Any app that quotes you a quality score for photo compression is quoting something that does not mean what it sounds like.
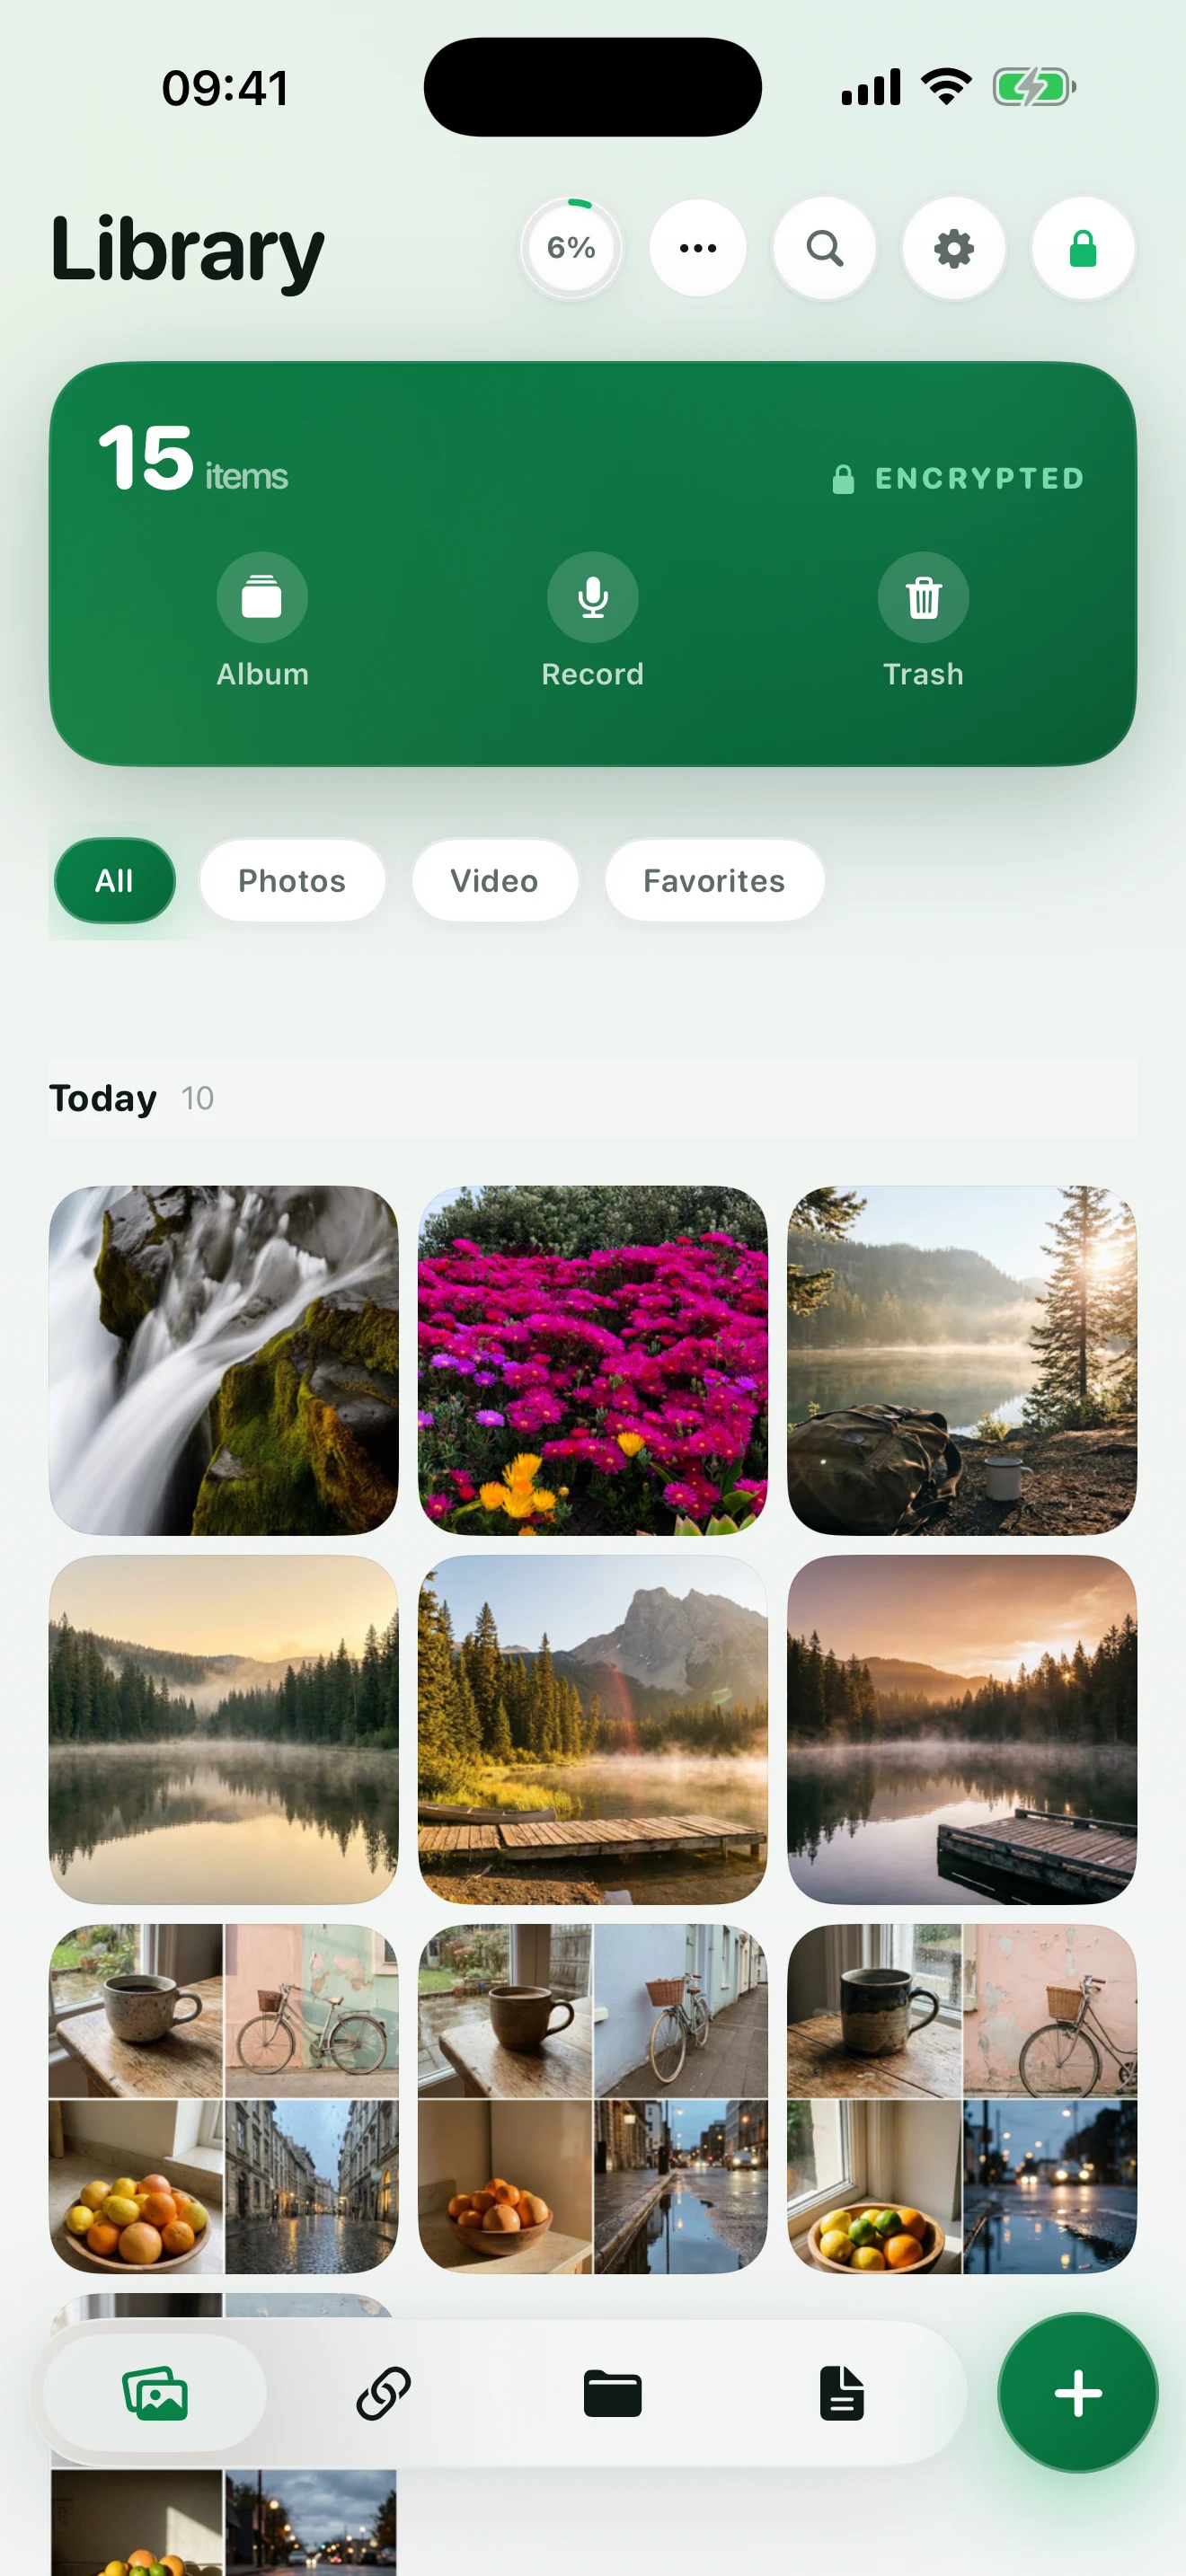
The honest version is to show you both images and let your eyes decide. Hushfold offers three sizes (4032, 2400 and 1600 px on the long edge), keeps the original in Trash for 30 days, and puts the two versions side by side at the same crop.
And it does not touch your photos unless you ask. Photos import at original quality by default. Several vault apps silently downscale every photo on import and never mention it; if you have been using one, the full-resolution version may already be gone.
What gets it wrong
- Compressing an already-compressed file. Screen recordings and downloads are usually efficient already. A good app will tell you it is “already compact” rather than re-encode for a 3% gain and a generation of loss.
- Compressing, then compressing again. Each pass throws away detail permanently. Always go back to the original.
- Uploading to a website to compress. Your video sits on someone else's server. For anything personal, that is a strange trade for a few hundred megabytes.
- Deleting instead. A 4K clip you shrink to a third is still the clip. A 4K clip you delete is gone.
Honest limits
- Encoding is real work: expect roughly 1.5× realtime on an A17 or newer, slower on older phones. A 10-minute clip takes about seven minutes.
- The phone gets warm. Hushfold pauses when the thermal state goes critical and resumes when it cools, rather than pushing through and throttling everything else.
- Leaving the app cancels the run. iOS does not give an app enough background time to finish a long encode, and Hushfold says so on screen rather than letting you discover it.
- Audio is never re-encoded, so the smallest possible file still carries the original audio track.
- Compressing one video is free and unlimited. Selecting many and compressing them in a single action is part of Hushfold Unlimited.
Which method to use
| If you want to… | Use |
|---|---|
| Email one clip today, never think about it again | Mail's own Small/Medium prompt |
| Post to a service that re-encodes anyway | iMovie at 720p |
| Stop the problem happening again | Settings → Camera → 1080p/30 |
| Actually get the space back and keep the footage | A compressor with a quality gate and an undo |